
The Best Type Of Background For Filming Music Course
Okay, so your music course is almost ready, you just need the background for filming to start recording it.
You have the outline of the lessons, planned out the scenes, and maybe even written a video script.
It’s time to film it, and you’re wondering what kind of background for filming to use?
There are different options you can go for, here are some of them:
Music Room / Studio Background for Filming
This is a very popular choice among music teachers shooting educational content for their online music business.
If you have a nice-looking, tidy music room that you can use as a background for filming a music course – then you can just use that.
You can film in front of your equipment such as amps, instruments, or even a computer with recording gear attached to it and it will look great.
I love this kind of setup because you can arrange the scene to look good on the camera and it’s interesting to the viewer to see a sneak peek of the music gear you have.
Here are a few screenshots of this kind of setup:
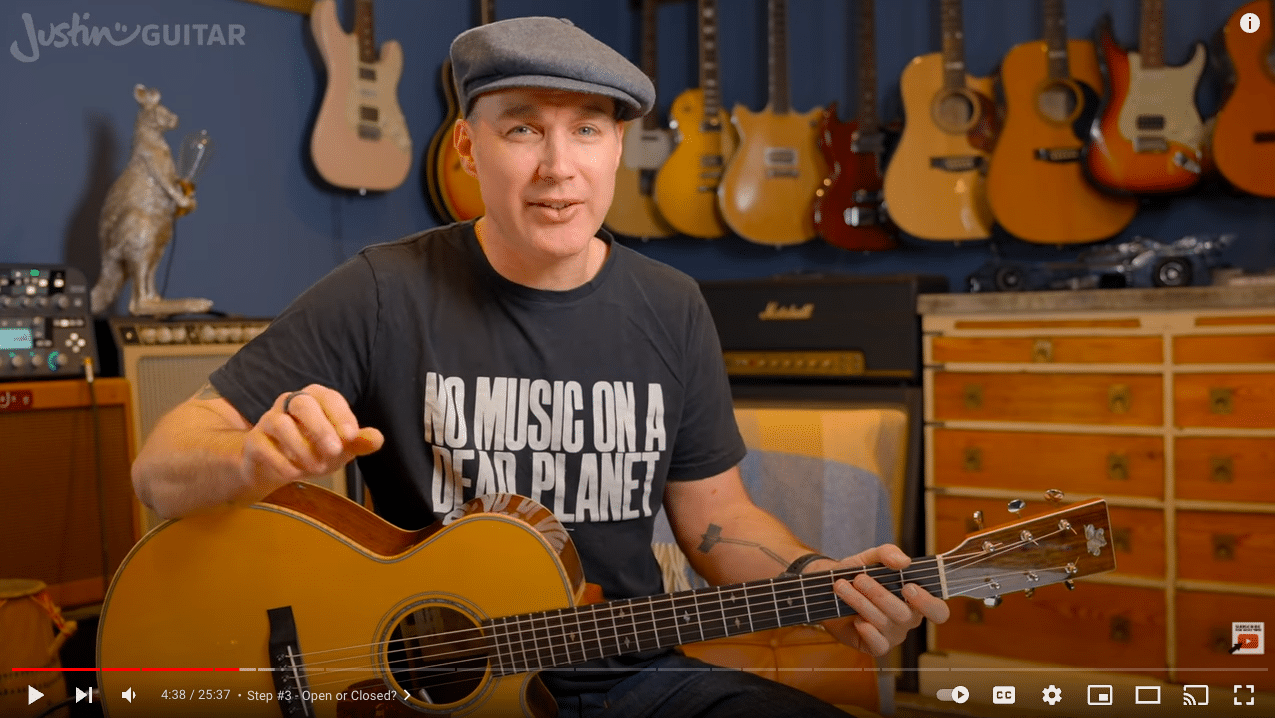
Screenshot: Youtube / JustinGuitar Channel
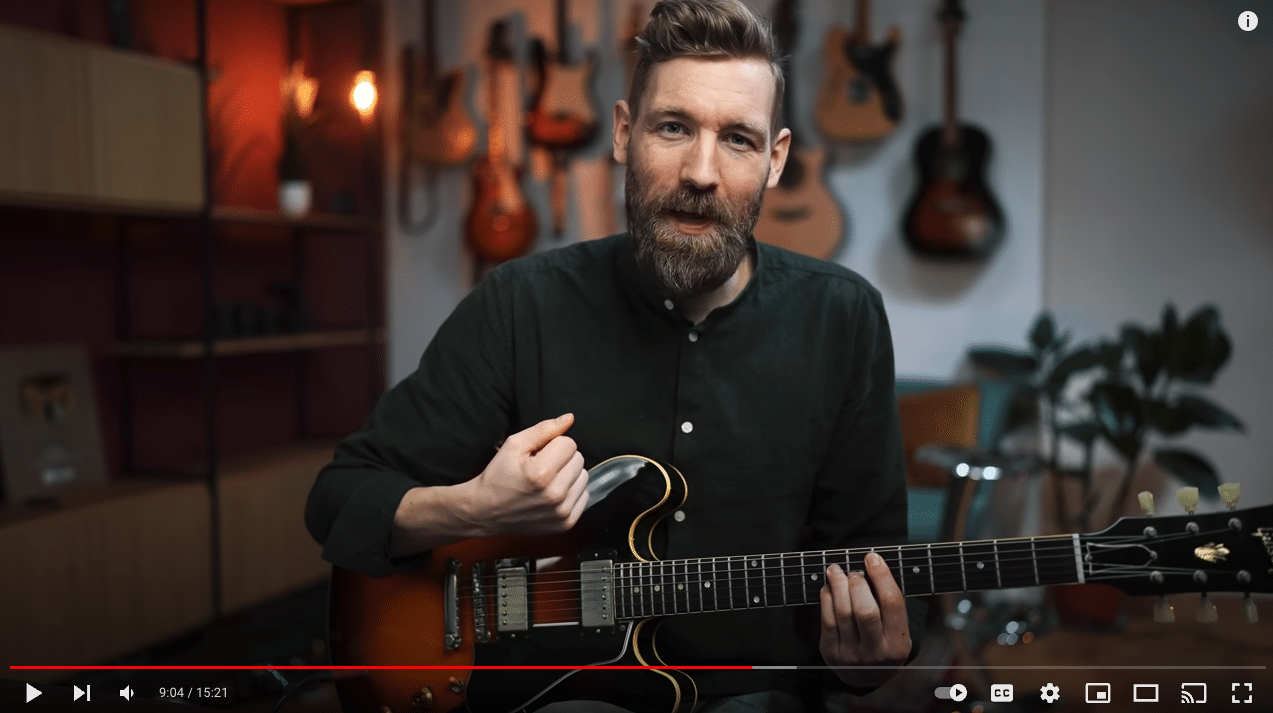
Screenshot: Youtube / Paul Davids Channel
Depending on the room size, you can even try to sit away from the gear in the background, as this will allow you to have a nice looking bokeh effect (blurred background) depending on the camera lens you use (like in David’s screenshot example above).
You can also get close to the stuff in the background and have it in full focus on the camera.
The downside of this setup is that you need to keep the room looking tidy on camera. You might need to do additional cleaning, dusting and arranging to get it to look nice and professional.
Also, make sure if you are shooting videos in sequence, not to move the stuff in the background until you’re done filming.
Collapsable Muslin Video Backdrop
This is my favorite for recording videos in tight space at home.
If selling music courses that you record at home is one of your ways to make money as a music teacher, then this type of background can save you a lot of time, especially if it’s a one-man operation and you don’t have help filming.
There are collapsable backgrounds that you can purchase in different colors and designs.
Backdrop is made from the muslin material and when you unpack it – it just pops-up into perfectly streched out background.
What’s great about this setup, is that you can install this background anywhere in the room.
Just pop it up open, lean against a wall or a couple of chairs and your’re good to go.
You can get these in various sizes, but they can be a rather tight fit so make sure you get the one that’s big enough for your music course filiming frame.
I use this type of background for my music video courses filming, check it out in action:
Pros of this setup is that the background is in a sort of collapsable metal frame, so the fabric is nicely stretched out without any wrinkles.
Another good thing is that you can easily prop it up against walls and furniture in your room.
Finally, it’s great for storage as it collapses into a small and thin package.
The downside is that these don’t come in large sizes, so if you plan to be standing while filming a music course video – it might not work for you. Also, if you’re filming a wide-angle, it probably won’t work either because the background can be rather small.
But for shooting close-up shots for guitar, bass, or other instruments as part of an online music course creation process – it’s awesome!
If you’re a drummer, this background probably won’t work for you though which brings us to the next option.
Muslin Video Background for Filming + Stand Setup
If you’re looking to shoot videos where you’re playing your instrument standing, or you’re performing on a rather large instrument like drums – then you might need to look into this option.
It is possible to get a muslin background that comes in a large size.
These backgrounds need to be hung over a portable stand, you get a pair of stands with a connecting pole.
Then you hang the background, and you can also leave a section of it on the floor for the kind of infinity look. Especially works well if you go for white background.
Another more advanced setup is to install background holding rails into the ceiling so that you can easily attach it and move into position – like drapes pretty much but for shooting video.
This setup is rather good, it’s easier to get a good-looking shot with it as the background is large in size. Much more comfortable for getting the wide frame shots.
These muslin backgrounds come in solid colors or textured, so you can choose the one that fits your music teaching business vibe
There are a couple of downsides to this setup to be aware of:
- These backdrops tend to form creases, so you’ll need a way to stretch it out for a better look. Use weights at the bottom to do this. Still, you’ll get creases here and there which results in combination with video lights in a few unwanted shadows on the background.
- This setup is rather bulky and requires quite a bit of space in the room. Also, it is time-consuming to put everything together will all the stands, clamps for background, and everything. It will take time and energy to have this setup ready for music course filming.
Here’s how the setup loooks:

Screenshot: Amazon.com
We have one more setup that’s rather advanced but can yeld great results if done correctly:
Green Screen Video Background for Filming
Finally, at the end of this post, I would like to mention using chromakey or the so-called Green Screen video background setup.
This is a two-step process and it is rather technical and demanding when it comes to video production.
For this reason, I do not recommend this setup if you’re a beginner in recording music teaching video courses.
When you do get the wanted result, it means that you can after you film your music course, put ANY kind of background using computer software. You can put in a static (photo) background or even a video background.
Let’s check out the two-step process:
Step 1
You need either a green or blue background that is especially made for chromakey setups.
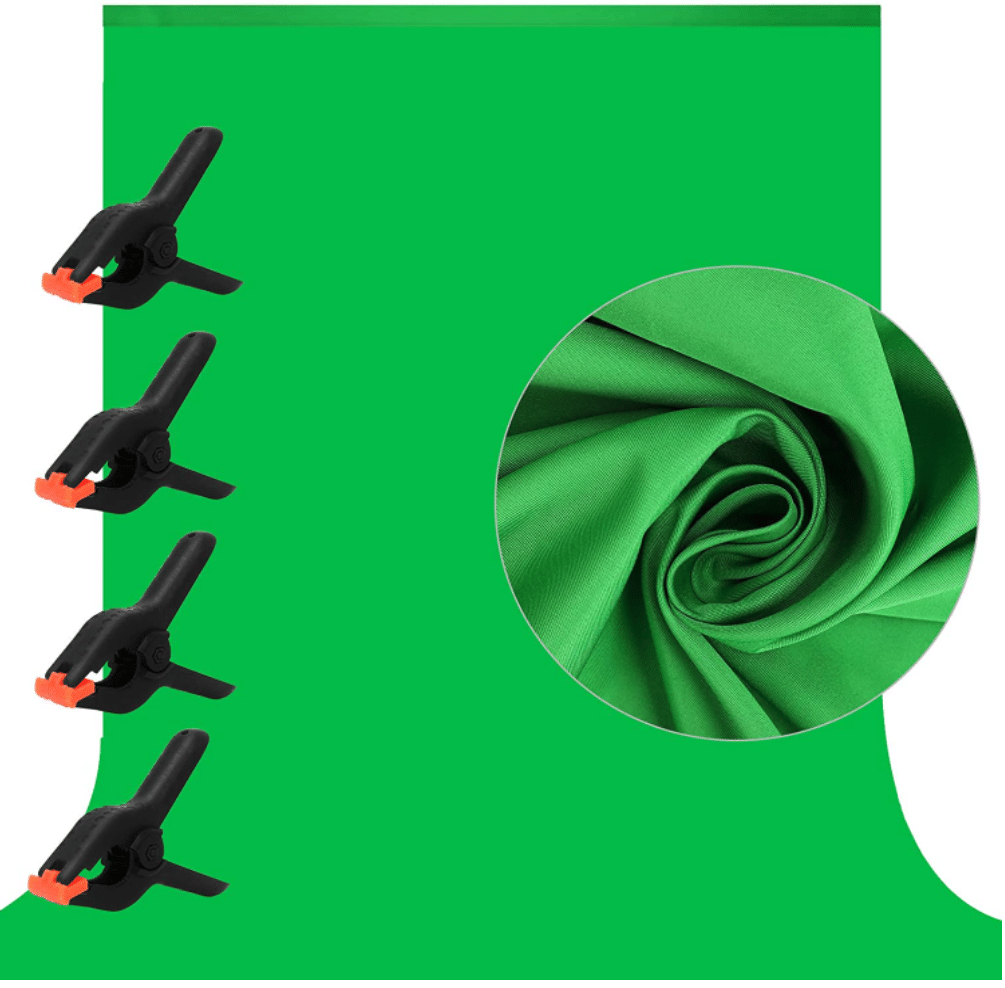
Screenshot: Amazon.com
Search for a chromakey video background or green screen video background to look into the options.
You can use a muslin background, collapsable muslin background, or even a paper background or a specially painted wall for this.
The background needs to be perfectly light, to cover all the area behind the subject you’re filming and looking to put in front of a new „virtual“ background.
There cannot be any shadows on the background and you can’t wear clothes featuring similar colors as the background.
Step 2
Once the video is recorded in front of this special background, use the video editing software that has an option of chromakey, to first remove the green or blue background from the video, and then replace it with a photo or video of your choice.
Note: this is rather technical and you might need to do further study on how to do it with the software you plan to use for editing your music course.
Pros of this setup: you can get creative and put on any kind of background (literally!). Any photo or video that you have the commercial license for would do.
Cons: higher production demands and costs to get it right.
First of all, you need a special green or blue background to use for filming.
Then you need a dedicated set of lights for making sure that the background is evenly light and has no shadows.
Then you need software that can isolate this kind of background and replace it.
Finally, you need training – both on how to set up a scene, and shoot a video and also how to edit that kind of footage.
I don’t recommend this setup to beginners, as if you don’t do it right, it looks really bad.
If you fail at creating a perfect green screen setup, then the final video will just look unprofessional, way worse if you had shot it right there on the spot in the room with what you have.
But if you’re into video production, have a great setup, and needed equipment – then kind of video background can look great on video.
It allows you to get creative, creating very professional and neat-looking videos.
What Do I Recommend?
I like to keep things simple, and I know most of us will be recording our music course videos at home with limited space. Also, many of us probably won’t have professional-looking music rooms that are always tidy.
For this reason, I recommend the collapsable or sometimes called pop-up muslin video background.
It’s quick to set up, you don’t need special stands for it and you can easily store it out of sight when you’re done.
If for some reason you can fit in the frame and need a bigger background, then you can look into getting a muslin video background kit that comes with stands and everything you need to prop it up.
This setup is also beginners friendly, can fit in most spaces, and looks great on video.
Hope this post helps in choosing a video background for filming your music course.
Creating content in form of music courses in video format is a valuable skill worth developing.
It will especially come in handy if you’re looking to start your online music teaching business, as this kind of content is great for selling online.
I’d like to invite you to leave your email address below and get on my email list, as I’ll be sharing with you more useful tips for online music teachers:
DISCOVER HOW TO START TEACHING MUSIC ONLINE IN A WAY THAT ACTUALLY WORKS FOR YOU, AND STRATEGY TO DO IT RIGHT!
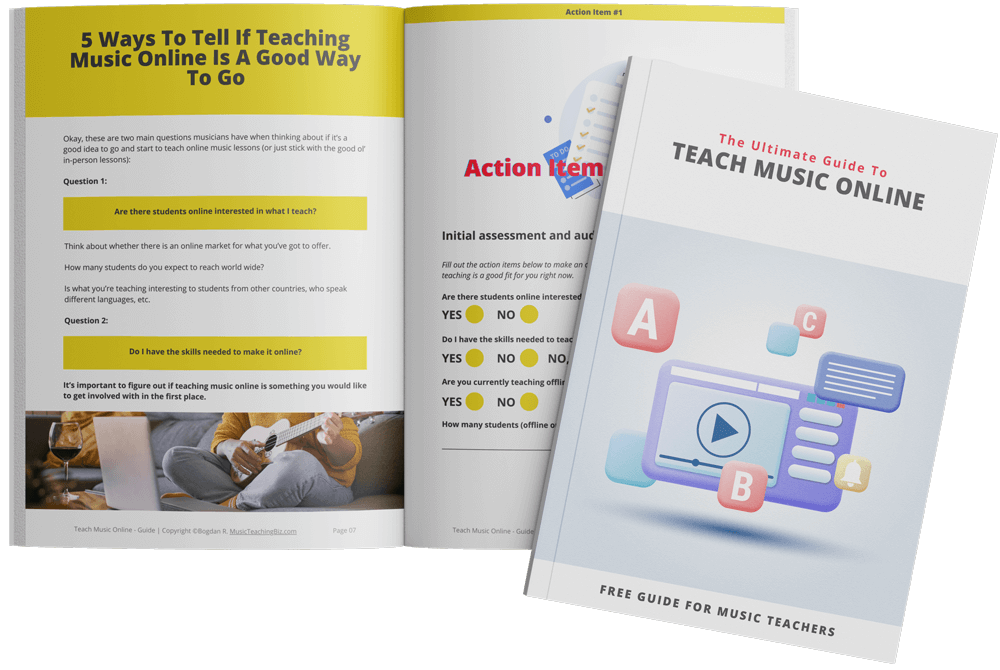
Click the button below to get instant access to this printable +70 page guide and transform your teaching NOW!
Thanks for reading my post, hope you’ll find it helpful.
Cheers,
Bogdan